Organization is not at the top of most college students’ lists of priorities. But with classes, work, club meetings and social events to juggle, maybe it should be.
Traditional planners from an office supply store can be boring and a hassle to carry around. A personalized wall calendar is a fun way to decorate a living space while also staying organized.
Materials
WallMates self-adhesive, dry-erase writing surface or another type of whiteboard
One green and one black Sharpie paint marker
A black dry-erase marker
A ruler
A pair of scissors
Decorative add-ons, such as ribbons, glitter or pompoms
Simply Tacky self-adhesive or another type of self adhesive
Directions
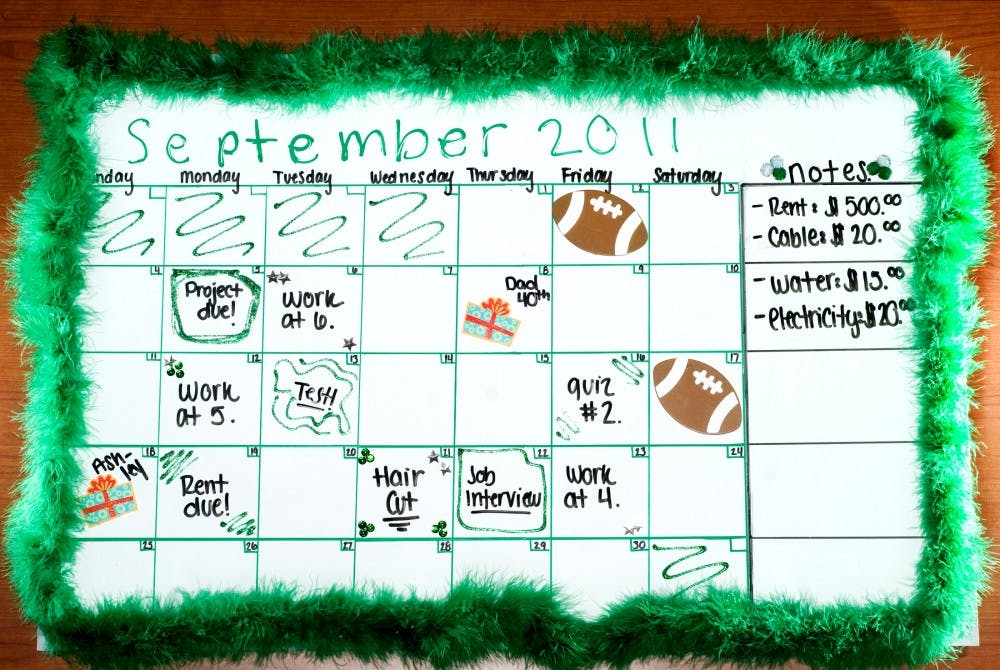
1. Using your ruler and green Sharpie paint marker, draw a large square in the left portion of your dry-erase writing surface, leaving a few inches at the top. This will be the outline for the calendar portion. Then split the box into five rows and seven columns to create 35 equal-sized boxes.
2. Above each of the seven columns, use your paint marker to record one day of the week.
3. In the top right corner of each of the 35 small boxes, draw another smaller box. This box is where you will use your dry-erase marker each month to record the day’s corresponding date.
4. Then, using your black Sharpie paint marker, draw a large rectangle next to your calendar, still leaving a few inches at the top.
5. Separate this box into five equal-sized rectangles using your black Sharpie paint marker. These boxes later can be filled with notes.
6. Use your dry-erase marker to label your calendar something creative in the remaining top portion.
7. Add decorative pieces. Use markers to spice up the borders with doodles or on stick colorful ribbons — the possibilities are endless.
8. Fill in your calendar with important dates and events.
Support student media!
Please consider donating to The State News and help fund the future of journalism.
Discussion
Share and discuss “Create a calendar and manage your months” on social media.